It’s that time of year when we wonder if we’ll get another few weeks of snow or glimpses of spring.
More snow can be fun, after all, who can resist the chance to build one more snow bear? But there is something exciting about getting those first tastes of spring – smelling the thawing earth and hearing the call of a returning migrant bird.
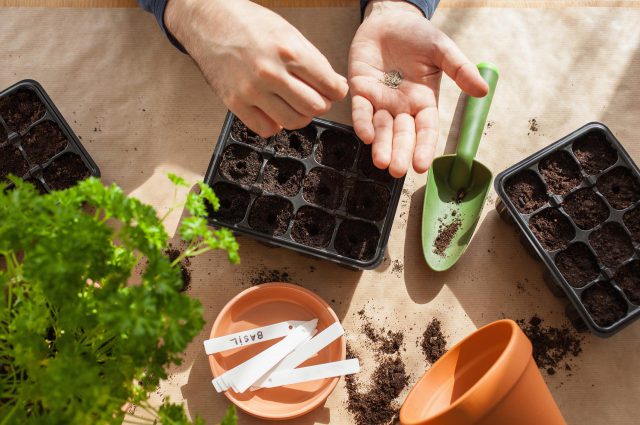
Even if the signs of spring aren’t here yet, many a gardener is quietly preparing. Light fixtures are being set up, containers are getting filled with soil, seeds are being sprinkled and satisfied smiles are creeping across faces with the knowledge that new life, and a new growing season, is at hand. This is something children can enjoy, too! This is a wonderful way for children to feel the satisfaction and responsibility of nurturing life and also in discovering how their food grows.
It’s pretty amazing that a teeny tiny seed holds the potential for creating a giant tree, let alone a vegetable plant or native perennial. Oftentimes, all that is needed is a little water and a little light and presto – new life is on its way to fulfilling some beautiful blueprint.
Growing plants from seed offers more selection than buying plants and is usually much cheaper. If you would like to try growing plants indoors and wish to get a jump start on the season, here are some general steps to consider.
1. Read the Instructions
Each seed has its own germinating requirements. Many annuals we grow, such as tomato and basil plants, are pretty straight forward. Others, like many of our natives, have adapted to their northern environment and will only germinate after periods of cold and warm, protecting their tender shoots from changeable late winter/early-spring weather. Others need their seed coat slightly scuffed; mimicking what would naturally occur in some animals’ bellies before coming out the other end. So, while some seeds can be stored for years in an envelope in your basement before planting, others need a helping hand to mimic natural cycles. This is when it is helpful to read the instructions on seed packets or refer to books.
2. Get Your Materials Ready
- Starter Mix. You can grow your seeds in earth, potting soil or compost but many prefer a seed starter mix which has been sterilized to prevent diseases from killing off tender young plants.
- Containers. You will also need containers to put them in. You can use compostable cups or reuse small pots that plants often come in. You don’t want the pot too large as it could become overly wet, with no root system to absorb the water. If the pot is very small and you have a long way to go before transplanting outside, be prepared that you may need to repot the plants during this indoor phase, to give roots plenty of room to grow.
- Stand With Lights. Many people use windowsills to grow their plants but if you have the budget and space, you could consider buying a stand with grow lights.
- A mist sprayer can be invaluable for watering if you have tiny seeds, as water can move them about until they have grown a root.
- A sheet of plastic may come in handy, to conserve moisture while the seeds are germinating. This can be as simple as reusing a bag that can be cut in half, like what some fresh produce comes in.
- Keeping Track. Last but not least, you will need a system to identify which pots are growing which plants, as it’s easy to lose track! This could be popsicle sticks to go in the pot or labels to attach to the outside of pots.
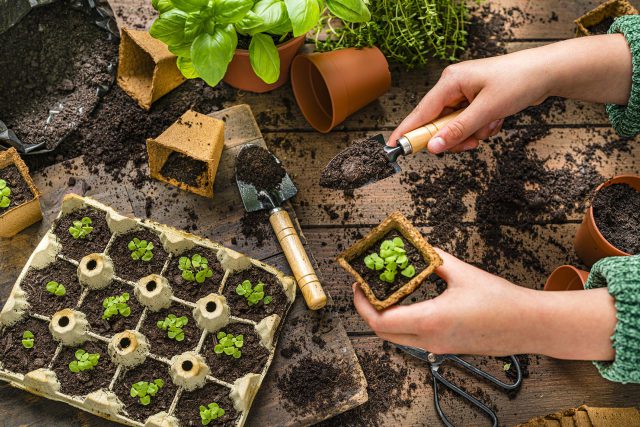
3. Plant

- Fill your containers with your seed starter mix and water gently until moist. Many mixtures are so light that they can be easily displaced.
- Sprinkle small seeds onto the soil and cover with a very fine layer of soil. Gently mist spray the area with water to moisten the soil without displacing the seeds. Larger seeds can be pushed into the soil at the required depth.
- If desired, cover pots with clear plastic sheet to keep moisture in, watering as needed.
- Once you see seedlings emerging, remove the cover, if any, and ensure your plants get as much light as possible. If by a window, ensure the blinds or curtains are pulled during daylight hours. Also in this case, if it is very cold by the window, you may want to pull the curtains or blinds at night for extra protection.
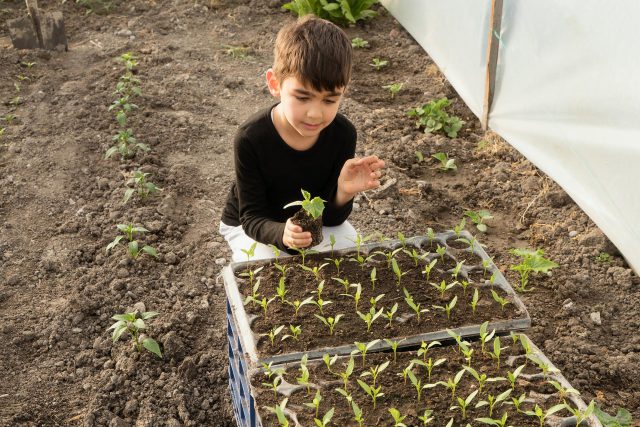
4. Thin Out or Transplant to Bigger Pots
If, after a few weeks, your seedlings are crowded, snip a few to make room for the ones that look strongest. If your seedlings are in shallow containers, repotting plants when they are small helps to minimize plant stress with less tearing on the roots, although it can be done successfully with larger plants, too.
5. Harden Off
If you used grow lights as your plants outgrow that space, you may wish to relocate to a window sill with suitable lighting. Do this when the sky is overcast, as the shock of full sun can be too much at first. Otherwise, keep your shades partly closed or net curtains pulled across for the first day or two.
Once the air outside is warm enough, take your plants outside and leave them for about half an hour in a spot that, for the first week or so, is sheltered from the wind and direct sun. The next day, one hour, the day after that, two hours, etc. until you are comfortable leaving them outside all the time. Remember to keep them sheltered on nights with a frost. Plant when the soil is warm enough, keeping in mind that some plants like warmer soil than others.
Growing plants from seed can be very rewarding. It definitely pays to read about the plant and their needs, but it never hurts to experiment a little…you never know what you’ll discover along the way!
Sarah Coulber
Sarah is an Education Specialist at the Canadian Wildlife Federation. She writes about the benefits and ‘how-to’s’ of wildlife-friendly gardening, coordinates content for the Gardening for Wildlife web section, co-manages the wildlife-friendly demonstration gardens at CWF headquarters and assists Canadians looking to achieve similar results with their own properties.

1 comment