Getting outside has never been more important for our kids’ mental and physical health.
Couple that with the benefits of gardening all while helping our pollinators and you have a recipe for great things. Read on to get tips to help you and your kids have a successful pollinator garden.
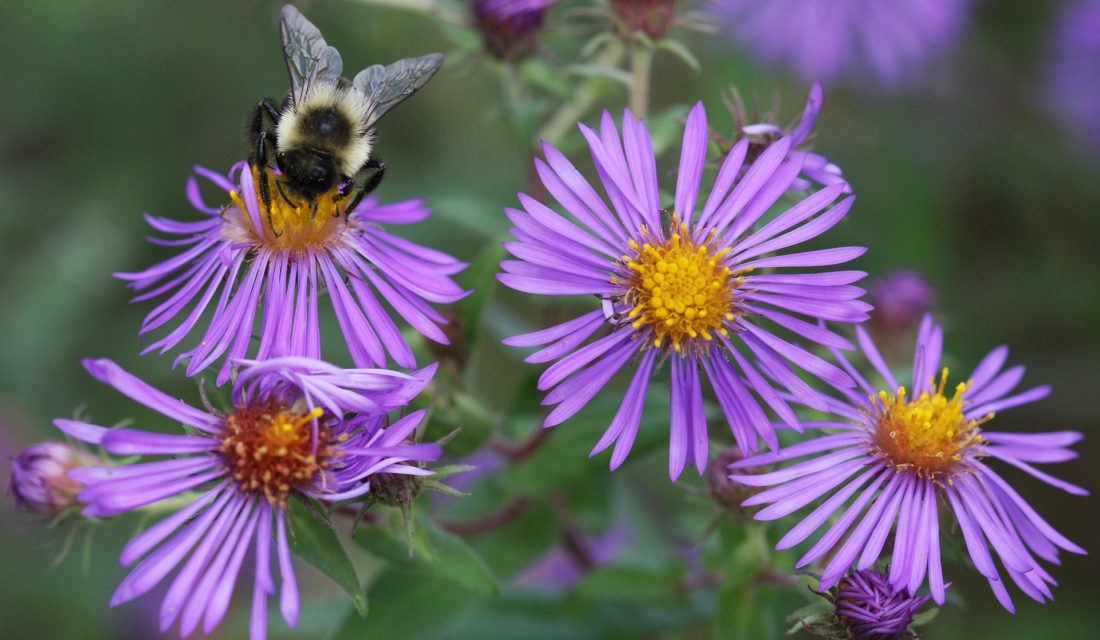
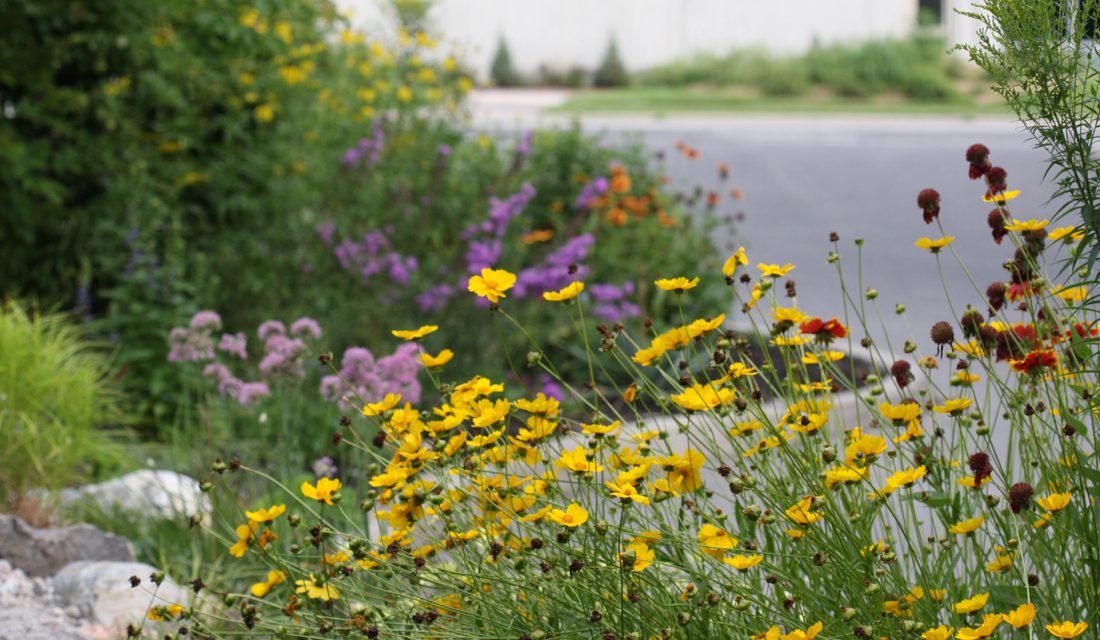
Creating a pollinator garden – or any wildlife-friendly garden – is a great way to enjoy the outdoors, help our wild neighbours and beautify our spaces. Here are some things to keep in mind to make your experience as smooth and successful as possible.
Choosing Plants
When shopping for plants, here are some tips for choosing plants that are beneficial:
- Avoid plants grown with neonicotinoids as those pesticides remain in the plant and can harm pollinators (and birds that eat their seeds).
- Avoid plants that have been over cultivated to the point of no longer producing nectar and pollen.
- Avoid plants that are known to be invasive. Check with your provincial invasive plant or species council.
- Include a diversity of plants with different flower colours, shapes, sizes and bloom times to support the many pollinators and their varied feeding habits and lifecycles.
- Include plants native to your region as they have co-evolved with the wildlife of that area and are often their perfect food.
The Canadian Wildlife Federation has a line of pollinator and bird-friendly plant kits available at many Home Depots across the country that are grown without neonics. Check for these sometime in May.
In determining the location and size of the bed, keep in mind the plants you wish to grow there. Make sure their light and moisture needs can be met in that location. Also ensure the size of the bed can accommodate the plants you wish to grow there as they will need enough room to grow to their full height and width. To figure these things out, read the label, ask at the nursery and/or do research online.
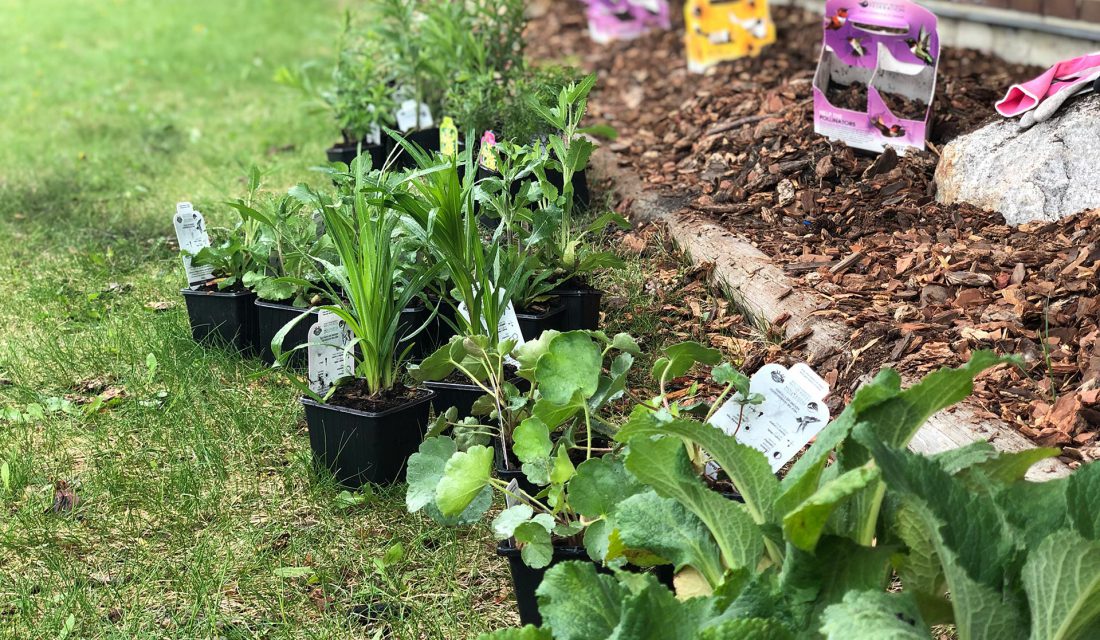
Care of Plants Until Planted
 If your plants are already hardened off (i.e. they are acclimatized to outdoor conditions), keep them outside in a spot that is somewhat protected so they aren’t set backwards in being able to cope with weather which can happen if you bring them inside. If you do have to bring them inside for whatever reason, choose a location that matches the current outside conditions more closely, like an unheated garage. Do this for as few days as possible, and bring outside during daytime, if possible.
Water the plants sufficiently that they are not soggy wet but not bone dry either. Keep them slightly moist to the touch and water once they show signs of drying out, unless the plant has different needs, as indicated on the label.
Especially make sure the plants are well watered the day or morning before planting.
Preparing the Site

To get ready for your project, think of what resources you will need and if you have them on site or if you need to bring them in. Here are some items that are commonly needed:
- Shovels and trowels (and perhaps an edger and/or spade, if available)
- Watering cans
- A source of water
- Compost, if the soil needs amending
- Gloves
- Hat
- Water bottle
- Pad for kneeling, if needed
If you are making a new bed or extending one, here are some tips:
- Mark the area by laying down some string or twigs to indicate the edge of the bed.
- Once you are happy with the shape, you can remove the grass right away by digging it out. To do this, use a tool like a shovel, spade or edger that has a sharp end that you push on with your foot to cut through the sod along the perimeter. You can then use it to slice the sod into manageable chunks for removing.
- After slicing you can use the same tools to get under the piece to remove it.
- If you identified earlier that your soil needs amending, now is a good time. This could be so if your soil is mainly sand or clay and needs binding or loosening up. Add in compost and mix well.
Instead of digging, you can also consider the smothering sod method which doesn’t disturb the microorganisms in the soil as much or cause potential weed seeds to move to the surface. It’s also much easier on the back! Some use this method a season or two ahead to allow the sod below to die off making it easier to dig. You can, however, dig right away if need be. To try this method:
- Lay down several sheets of newspaper (avoid coloured print) and cardboard (remove tape).
- Cover with a heavy enough layer of compost to keep the paper below from flying away or the grass from pushing upwards (some grass is more resilient than others).
- When ready to plant, that season or in the future, dig a hole where you wish to put the plant and go from there.
Planting
- It’s best to plant on a cloudy day as too much sun can stress out plants that are already being stressed from adapting to a new location as well as its roots being disturbed. If you can’t avoid the sunny day, perhaps you can plant later in the day when the sun is lower in the sky. And if that can’t be avoided, be extra vigilant in watering the plants to help them cope.
- If you have the luxury of time, choose a day that will be followed by one or two days of cloudy skies or rain. Another factor is time of year. Planting during the summer when dry spells can occur increases the amount of watering you will have to do and possibly reduce the chances of your plants surviving.
- Place your plants in the desired spots keeping in mind which plants will be taller or shorter, arranging them so you will be able to see them all, even when they have reached their mature height. Stand back and look at the arrangement from various locations, such as a park bench, kitchen window or sidewalk, depending upon where you are planting and what look you are hoping for.
- Once you are happy with the placement, move the pot over a little bit and dig the hole, either with a trowel if it’s a small hole or with a shovel for larger holes.
- If the soil is very hard to work, mix it a little bit to loosen it up so the plant roots have an easier time growing into that area. You can add some compost to the soil and mix it in a little bit if you think the soil needs some extra nourishment.
- Water the hole very well. Let that water get absorbed into the earth and water thoroughly again. Repeat until all the soil is saturated.
- Gently remove the plant from its pot and place it in the hole, checking to see that it is upright. If the plant is woody, it is very important that you don’t bury any of the trunk/stem, keeping the top of the root ball level with the ground. If it is not woody, then it is okay if a bit of the stem gets covered up.
- As the roots will have been well watered the day before or that morning, you don’t need to water the plant again at this point. Add in most of the soil that was removed, enough to fill the hole around the root ball and gently pat down. Do not pat too hard as that will remove the spaces that are important for the air and water in the soil.
- Water the area thoroughly, waiting for the water to be absorbed and then watering some more. So often people water plants and think that it is enough but a lot of the time the water never gets to penetrate deeply enough, down to the entire root ball. This way your plant will be able to get a drink as needed to help it adapt to its new environment.
Maintenance
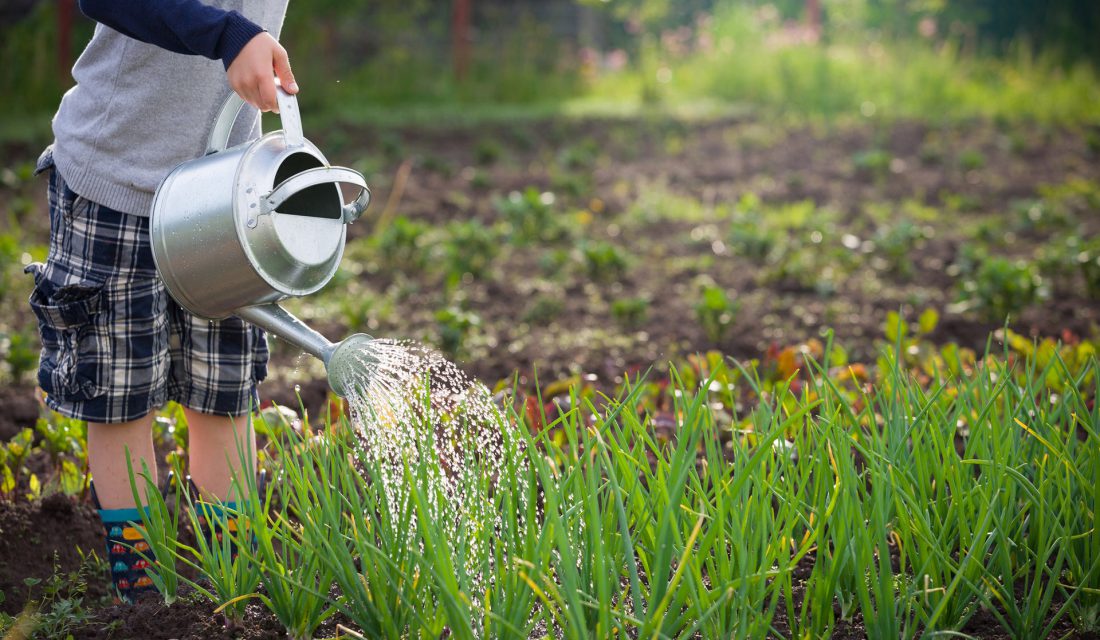
- Water the plants often, especially if it doesn’t rain or the rain fall is very light. These plants will need regular frequent watering until their roots get established. This can be until the following year. It’s best for the plant if you water at its base or the soil around the plant. This will help the water get directly to the roots, minimize the chance of the leaves getting scorched by the sun if you water during the day and, for those plants that are prone to mildew problems, will help avoid getting mildew on its leaves, especially if you water in the evening when the nights are cool or if your plants are close together with minimal air circulation.
- If you ever need to add compost to an existing bed, you can simply place on top or very lightly mix in with the top layer as gently as needed to not disturb the roots of surrounding plants.
Best wishes with your planting extravaganza!
Learn more about Gardening for Wildlife >
Sarah Coulber
Sarah is an Education Specialist at the Canadian Wildlife Federation. She writes about the benefits and ‘how-to’s’ of wildlife-friendly gardening, coordinates content for the Gardening for Wildlife web section, co-manages the wildlife-friendly demonstration gardens at CWF headquarters and assists Canadians looking to achieve similar results with their own properties.